10 DIY Garden Decor Projects to Personalize Your Outdoor Oasis
Your garden is more than just a place for plants; it’s an extension of your living space, a place to relax, unwind, and connect with nature. But sometimes, a garden can feel a little bland. Why not add a touch of your own personality with some creative DIY decor? This blog is packed with inspiring ideas and easy-to-follow instructions to transform your outdoor haven into a one-of-a-kind sanctuary. Get ready to unleash your inner artist and bring your garden to life with these handcrafted delights!
This article may contain affiliate links to trusted partners, which help run this site at no extra cost to you.
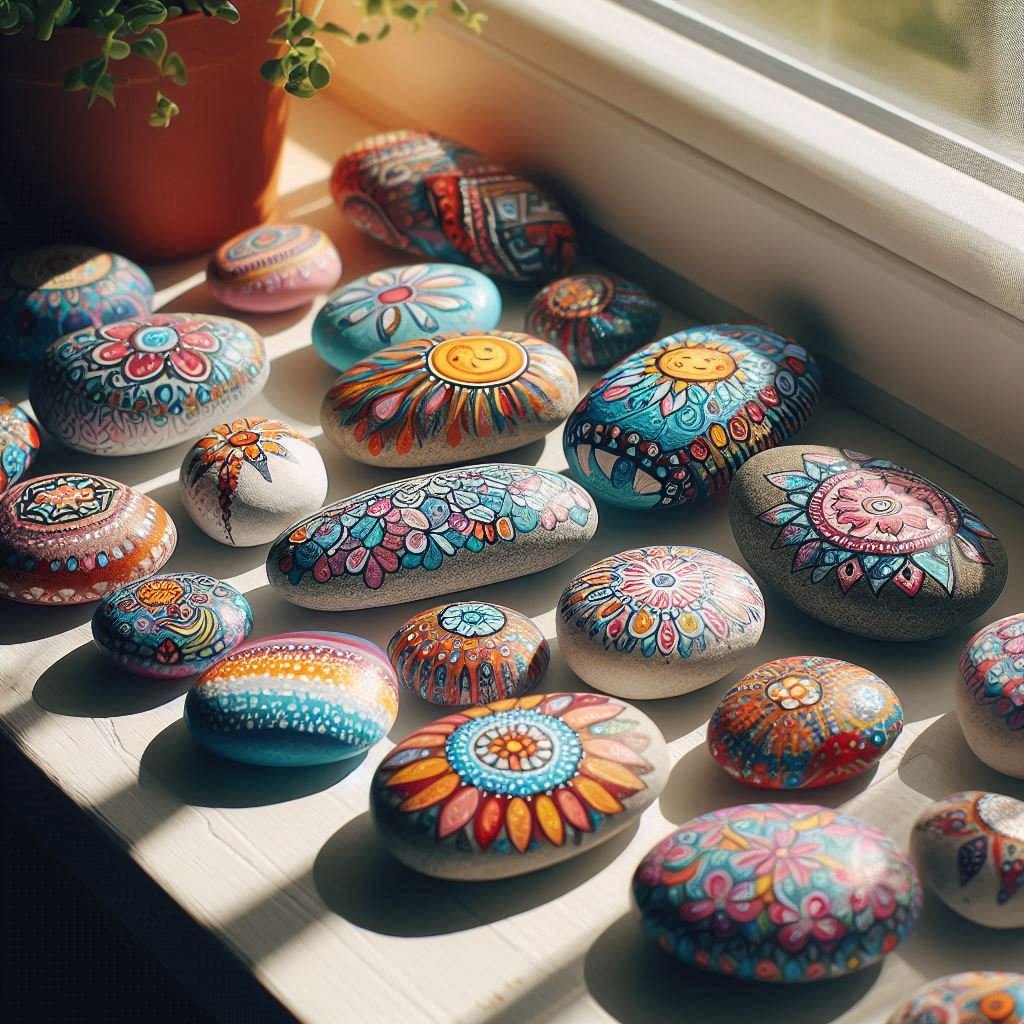
1. Whimsical Painted Rocks

Turn ordinary rocks into extraordinary garden characters! This is a perfect project for the whole family, and a great way to add pops of color and playful vibes to your flowerbeds.
- Materials: Smooth rocks, acrylic paint pens or outdoor paint, paint brushes (optional for details)
- Instructions:
- Wash and dry your rocks.
- Paint your base coat. Let dry completely.
- Unleash your creativity! Paint polka dots, stripes, faces, animals, inspirational messages – the possibilities are endless!
- Seal your artwork with a clear coat of outdoor varnish to protect it from the elements.
2. Charming Painted Terracotta Pots
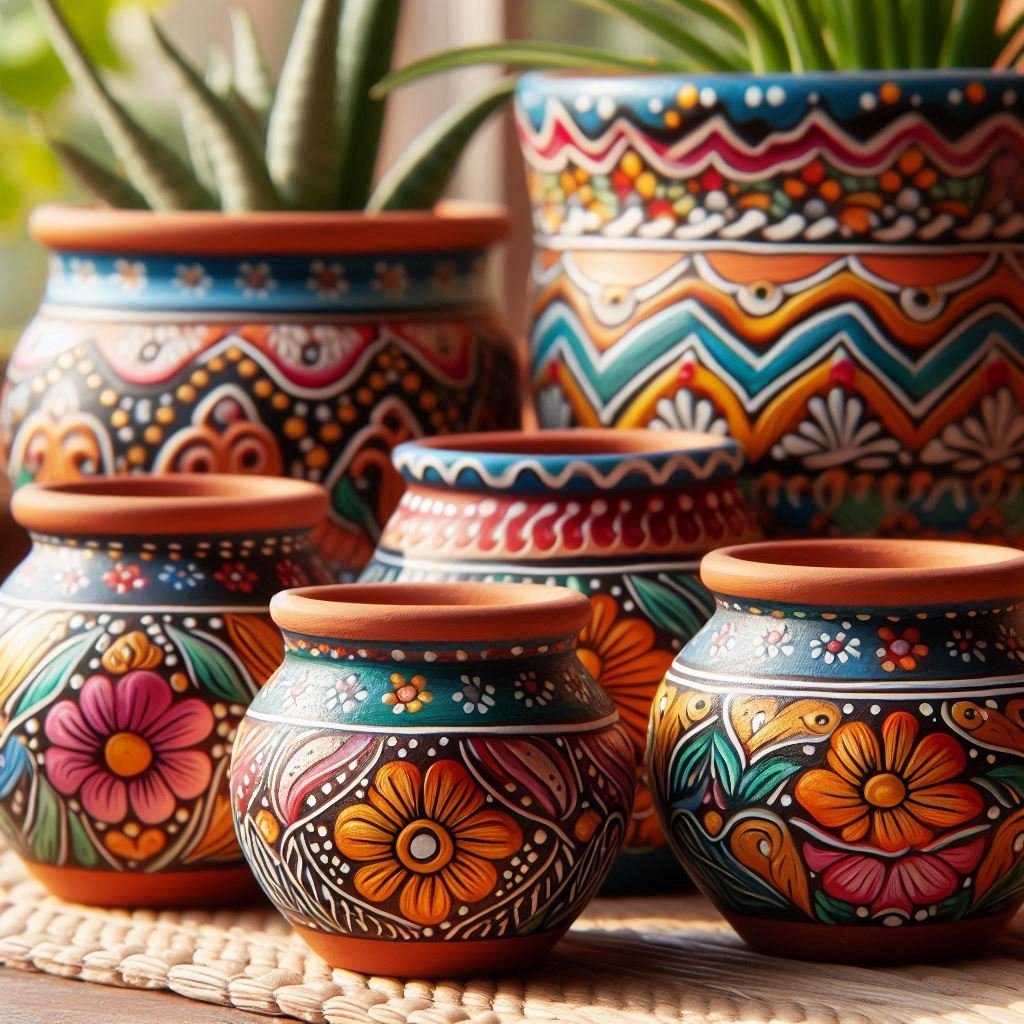
Terracotta pots are a blank canvas waiting for your artistic touch. They’re not just for plants – use them to create colorful lanterns, bird feeders, or whimsical garden accents.
- Materials: Terracotta pots in various sizes, acrylic paints, paint brushes, stencils (optional)
- Instructions:
- Wash and dry your terracotta pots.
- Paint your base coat. Let dry completely.
- Use stencils or freehand designs to add patterns, flowers, stripes, or polka dots.
- Seal your artwork with a clear coat of outdoor varnish.
3. Rustic Mason Jar Lanterns

These lanterns are a delightful way to add a touch of magic to your evening garden. Hang them from trees, place them on tables, or group them on the patio for a warm, inviting ambiance.
- Materials: Mason jars, fairy lights (battery-powered, LED recommended), acrylic paint (optional), paint brushes (optional), hooks or cup hooks
- Instructions:
- If desired, paint the outside of your mason jars for a pop of color. Let dry completely.
- Carefully string fairy lights inside the jar.
- Attach hooks or cup hooks to the lids and hang your lanterns around your garden.
4. Eye-Catching Wind Chimes
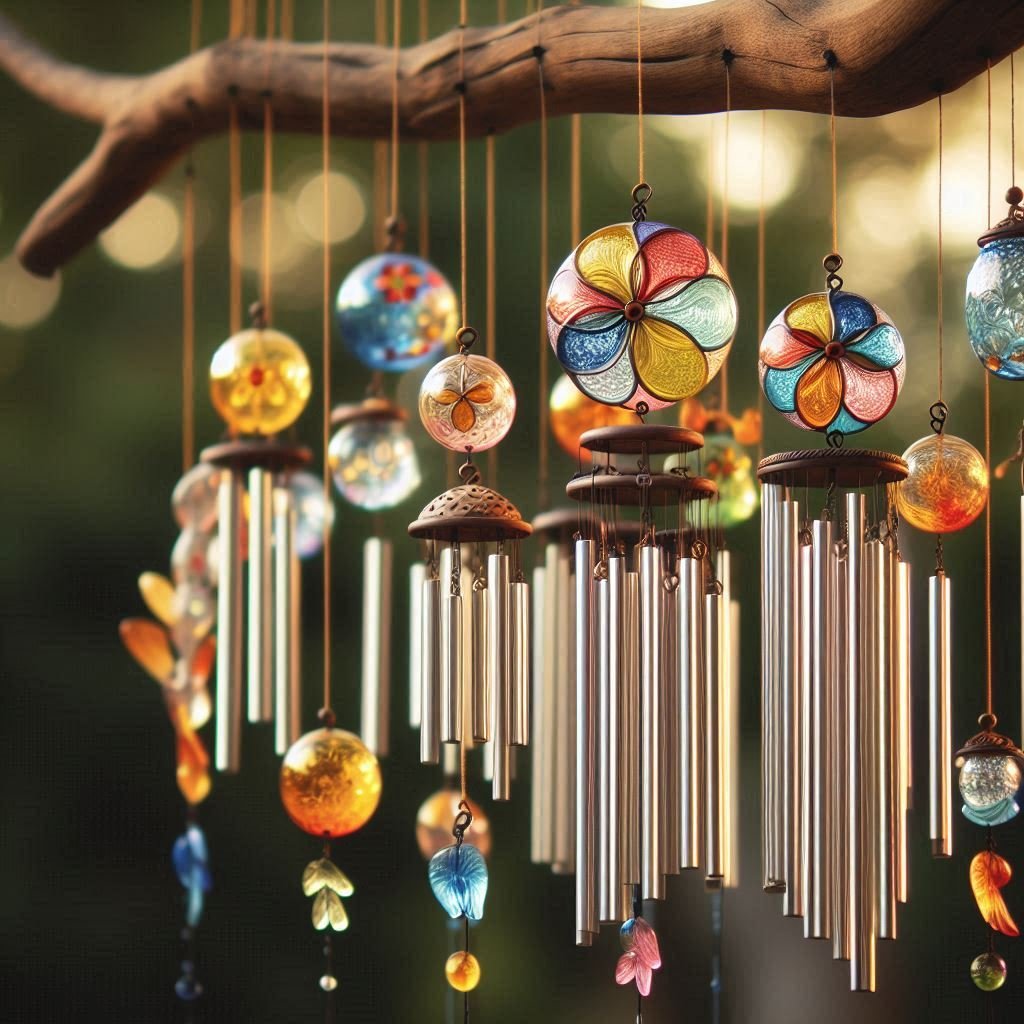
Wind chimes add a touch of melody and movement to your garden. You can use recycled materials or create a one-of-a-kind chime with unique trinkets.
- Materials: Depending on your design, you can use seashells, buttons, keys, old wind chime parts, bamboo sticks, fishing line, etc.
- Instructions:
- Get creative! Thread your chosen materials onto fishing line and suspend them from a bamboo or wooden stick.
- Hang your wind chime from a tree branch, shepherd’s hook, or patio umbrella.
5. Welcome Sign with a Personal Touch

Let everyone know they’ve entered your special space with a personalized welcome sign.
- Materials: Wooden plaque, outdoor paint, paint brushes, stencils (optional), permanent markers
- Instructions:
- Paint your wooden plaque. Let dry completely.
- Use stencils or freehand lettering to write “Welcome” or a message of your choice.
- You can embellish further with painted flowers, garden tool silhouettes, or anything that reflects your garden’s personality.
6. Solar-Powered Pathway Lights
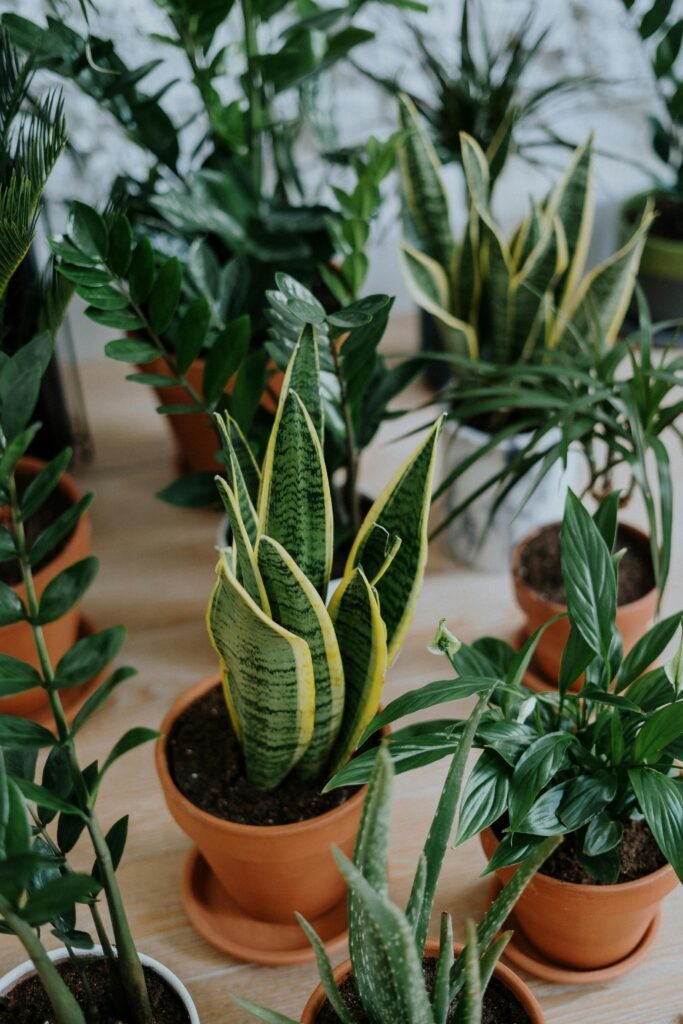
Light up your garden path and create a magical nighttime atmosphere with easy-to-install solar-powered lights. They come in a variety of styles to match your taste, and require no electrical wiring!
- Materials: Solar-powered pathway lights
- Instructions:
- Following the manufacturer’s instructions, stake the solar lights into the ground along your garden path.
- Enjoy your illuminated walkway after dark!
7. Tiered Herb Planter from Recycled Tires

Turn old tires into a unique and functional tiered planter for your favorite herbs.
- Materials: Washers or wire (to connect tires), drill, drill bits (metal), potting mix, herbs
- Instructions:
- Wash the tires thoroughly and allow them to dry completely.
- Stack the tires, with the largest at the bottom and the smallest on top.
- Drill drainage holes in the bottom of each tire.
- Drill holes through the sides of the tires to connect them. Use washers or wire to ensure stability.
- Fill the tires with potting mix and plant your favorite herbs.
8. Butterfly Feeder Made from Recycled Materials
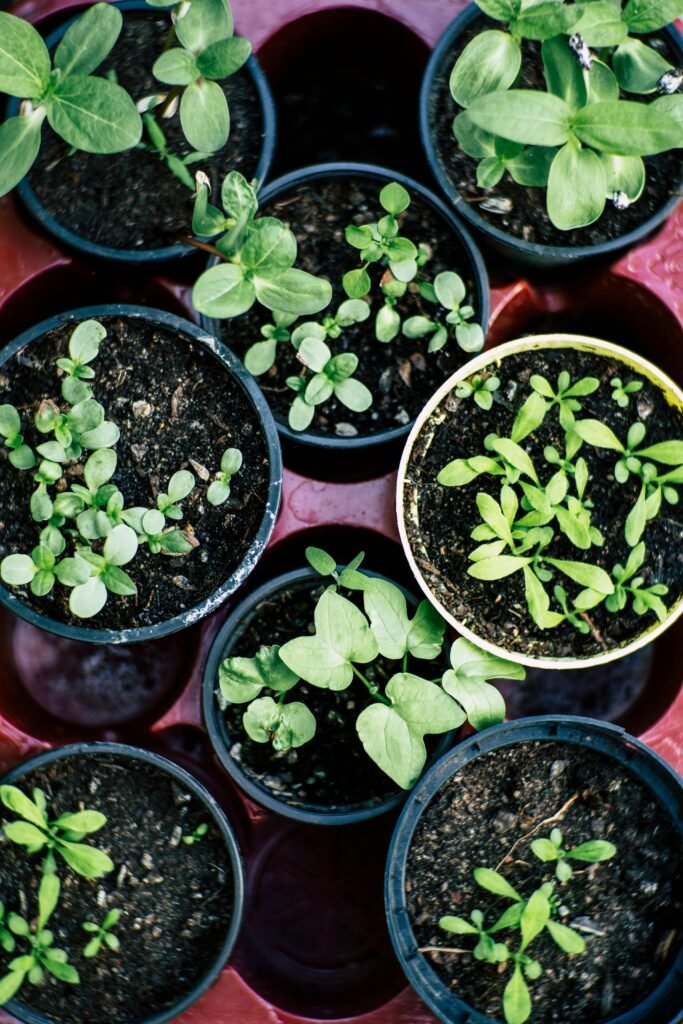
Attract beautiful butterflies to your garden with a charming DIY feeder.
- Materials: Empty plastic bottle (2-liter size), colorful paper cups, string, sugar, water
- Instructions:
- Cut the top third of the plastic bottle. Invert the top portion and insert it into the bottom section to create a feeding station with a shallow reservoir. Secure with tape if needed.
- Decorate the outside of the bottle with colorful paper cups, cut into flower shapes, to attract butterflies.
- Mix sugar and water to create a sugar solution and fill the reservoir of the feeder. Hang it from a tree branch in a sunny spot.
9. Painted Stepping Stones
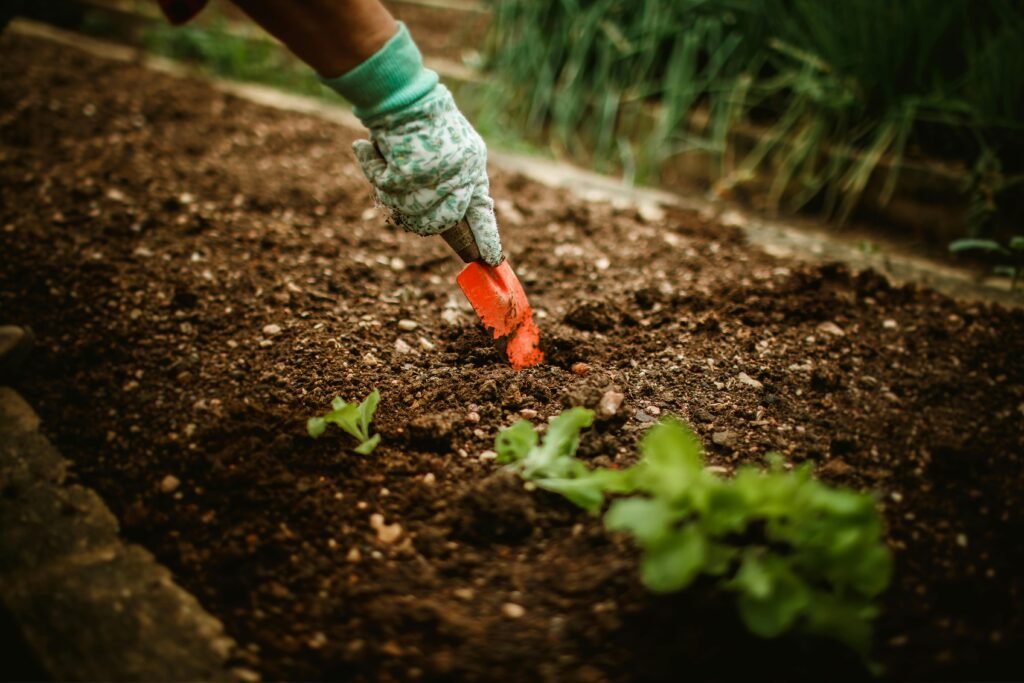
Create a whimsical pathway with colorful and decorative stepping stones.
- Materials: Pre-cast stepping stones (or create your own by pouring concrete into molds), acrylic outdoor paints, paint brushes, stencils (optional)
- Instructions:
- Paint the stepping stones with a base coat and let dry completely.
- Use stencils or freehand designs to add patterns, flowers, ladybugs, or anything that suits your garden’s theme.
- Seal your artwork with a clear coat of outdoor varnish to protect it from the elements.
10. Hanging Tin Can Planters
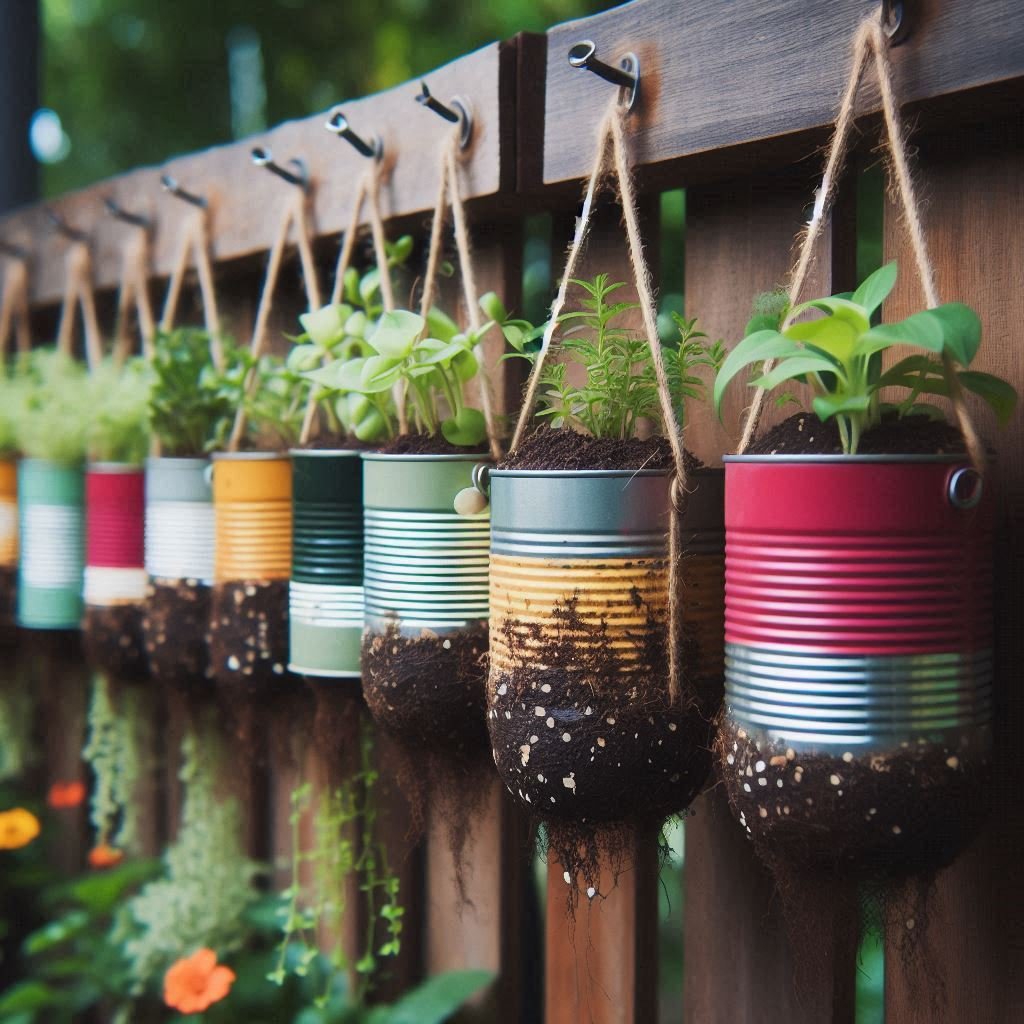
Upcycle old tin cans into charming hanging planters for herbs, flowers, or trailing plants.
- Materials: Empty tin cans, hammer and nail (to make drainage holes), drill (optional for hanging holes), acrylic paint (optional), paint brushes (optional), S-hooks, potting mix, plants
- Instructions:
- Wash and dry the tin cans.
- Using a hammer and nail, punch several holes in the bottom of the can for drainage.
- (Optional) Drill holes near the rim of the can for hanging.
- Paint the cans if desired. Let dry completely.
- Attach S-hooks to the rim of the cans (or use the drilled holes) and hang them in a sunny spot.
- Fill the cans with potting mix and plant your chosen flowers or herbs.
There you have it! Ten fantastic DIY projects to add a touch of whimsy and personality to your garden. Remember, these are just springboards to inspire your creativity. Don’t be afraid to experiment, mix and match ideas, and use recycled materials whenever possible. After all, a garden sanctuary is a personal space, so let your imagination flourish. Please, share your creations and inspire others!
